Explorer’s Guide to Impact Craters
Barringer Crater Tour
- Getting to Barringer Crater
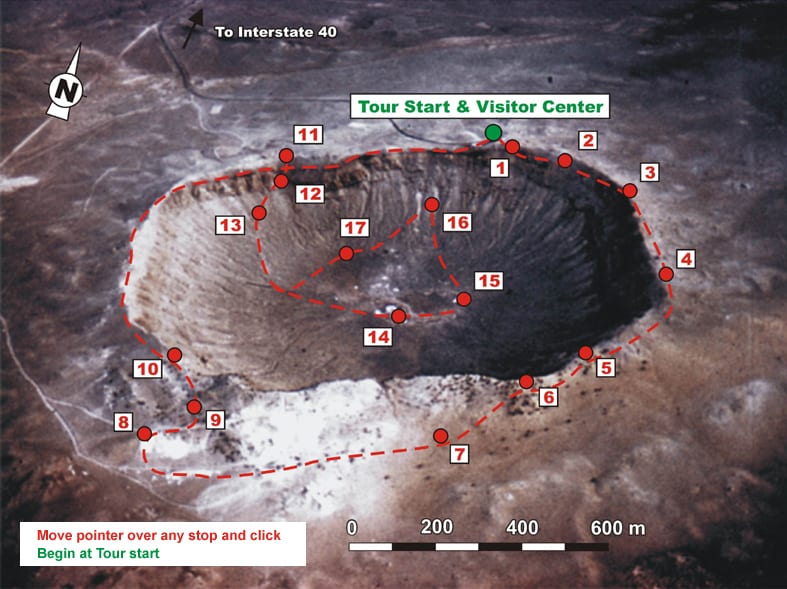
- Virtual Tour of Barringer Crater
- Barringer Tour: Visitor Center
- Barringer – Stop 1
- Barringer – Stop 2
- Barringer – Stop 3
- Barringer – Stop 4
- Barringer – Stop 5
- Barringer – Stop 6
- Barringer – Stop 7
- Barringer – Stop 8
- Barringer – Stop 9
- Barringer – Stop 10
- Barringer – Stop 11
- Barringer – Stop 12
- Barringer – Stop 13
- Barringer – Stop 14
- Barringer – Stop 15
- Barringer – Stop 16
- Barringer – Stop 17
Stop 10 at Barringer
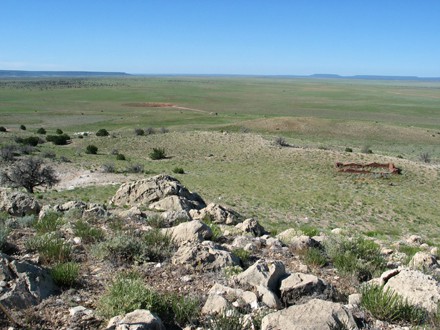
View from the crater rim looking to the southwest
Photo: G. Osinski, University of Western Ontario Location: Below the southwest corner outside the impact crater
Scale: Width of the rocks in the foreground is approximately 1-2 meters
We’ve made it to the southwest corner of Barringer Crater.
In the photo on the left, the large blocks in the foreground and the hummocky hills beyond are all part of the ejecta blanket. The ruins on the right of the photo are the remains of an old school house.
In the photo below, if you look closely you can see the visitor center where we started from, and the Caretaker Trail, which we’ll be taking to get down inside the crater.
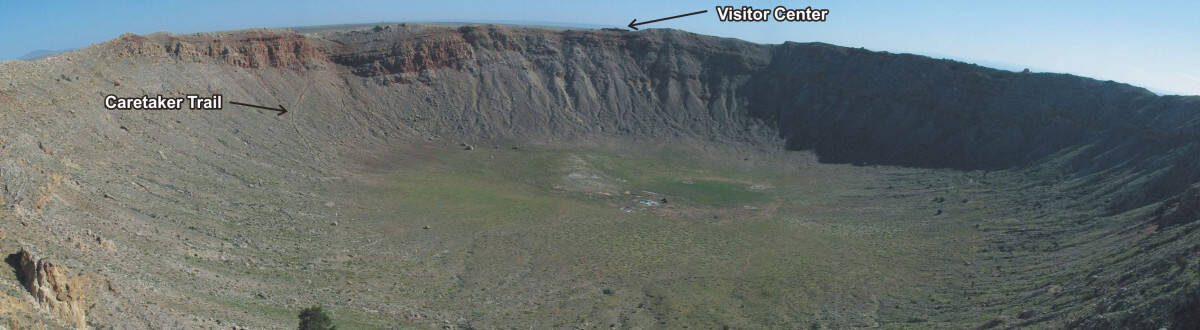
Panoramic photo of the Barringer impact crater
Photo: G. Osinski, University of Western Ontario Location: Southwest corner of the impact crater
Scale: Crater diameter is approximately 1.2 kilometers