Explorer’s Guide to Impact Craters
Barringer Crater Tour
- Getting to Barringer Crater
- Virtual Tour of Barringer Crater
- Barringer Tour: Visitor Center
- Barringer – Stop 1
- Barringer – Stop 2
- Barringer – Stop 3
- Barringer – Stop 4
- Barringer – Stop 5
- Barringer – Stop 6
- Barringer – Stop 7
- Barringer – Stop 8
- Barringer – Stop 9
- Barringer – Stop 10
- Barringer – Stop 11
- Barringer – Stop 12
- Barringer – Stop 13
- Barringer – Stop 14
- Barringer – Stop 15
- Barringer – Stop 16
- Barringer – Stop 17
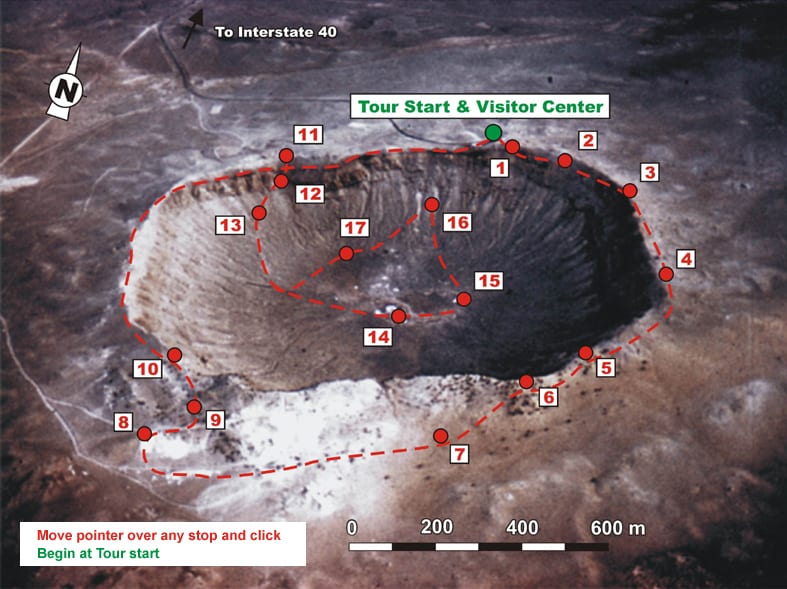
Stop 15 at Barringer
Mound of excavated Coconino sandstone
Photo: G. Osinski, University of Western Ontario Location: On the floor of the impact crater
Scale: Height of the ladder is approximately 2.5 meters
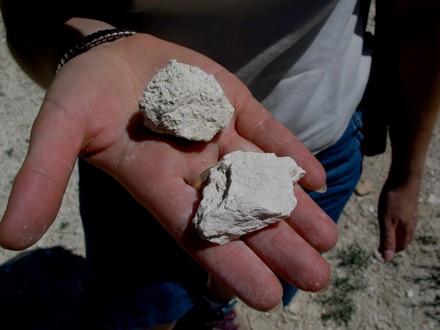
Pieces of shocked Coconino sandstone
Photo: G. Osinski, University of Western Ontario Location: On the floor of the impact crater
Scale: Width of hand samples are several centimeters
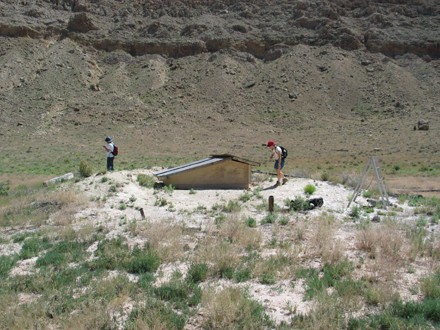
The photo on the left is of another old shaft that was used for drilling in the early 1900’s. It is easily recognizable by the surrounding light-colored material that was excavated from the shaft. This is actually a great place to collect pieces of highly shocked Coconino sandstone. These pieces shown in the photo on the right resemble volcanic pumice, but are so light that they float in water! The Coconino sandstone is normally a dark dense rock, but not here. The reason why they are so light is due to the air spaces or bubbles formed in the rock when it was compressed by the impact’s shock wave and then uncompressed.